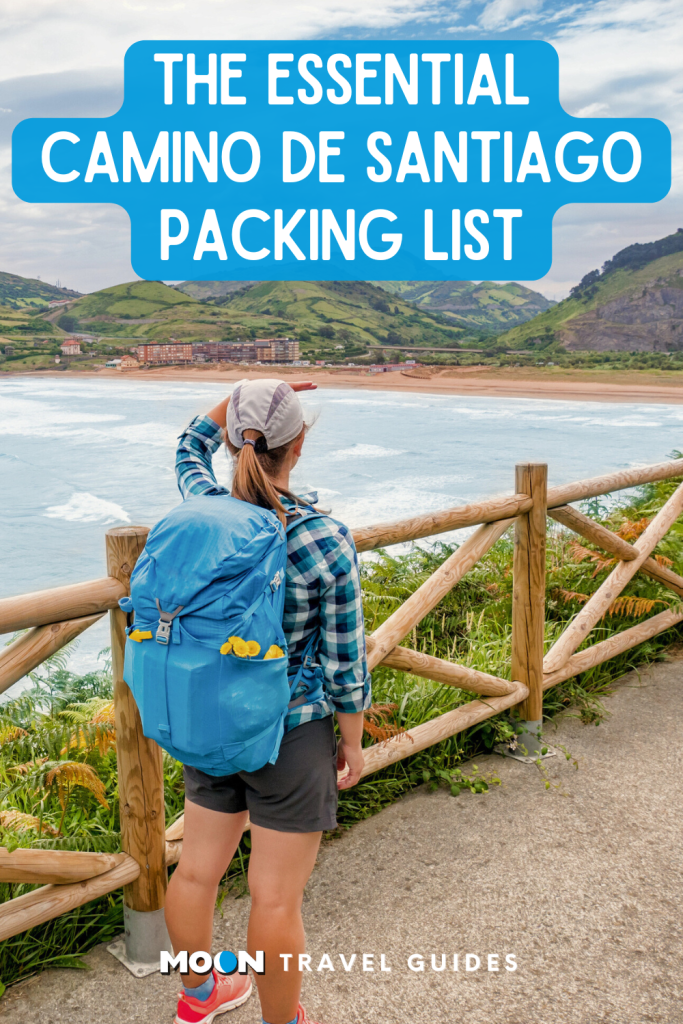
The Essential Camino de Santiago Packing List
Nothing ruins the Camino de Santiago trek like too much baggage. A good place to start is to make a list of everything you think you will need, and then go through it item by item, questioning why you need each thing. If it serves anything other than actual use in the everyday trek, leave it at home. The Camino’s support structure has had more than a thousand years of anticipating pilgrims’ needs, and you can find just about anything you need in an unplanned circumstance, or even things that you use each day and need to replace, from band aids to batteries. A good range is to carry no more than 10-15 percent of your body weight. You should anticipate carrying 2-3 pounds of water and food each day, so be sure your pack’s final weight before food and water is 2-3 pounds under the mark.
The three most important items are:
- Trekking shoes, such as light hiking shoes or sturdy cross trainers, that you’ve broken in and that fit you well. Hefty hiking boots are usually overkill on the Camino, unless you need the extra support. Some peregrinos even hike in running shoes. Find the shoe that best fits your feet and best supports your body. Consider visiting a reputable hiking and running shoe store where knowledgeable professionals can help you get a custom fit. It is a great idea to have them measure your feet to get your current shoe size as many people are buying shoes that are too small for their feet. Additionally, most professional athletic outfitters recommend you size up a half or a whole shoe size (depending on the shoe’s cut and your feet) for long days of hiking to give your toes room during walking and climbing on uneven surfaces, and because feet swell over a long day of walking. Definitely do not buy new shoes the week before you leave! Get them early enough to train in them and be absolutely sure they fit well before departing. A huge portion of problems, from blisters to more serious issues, occur when people take brand new, untested, or less-than-well-fitting shoes to the trail.
- Socks designed for blister prevention. I prefer double-layered Wright Socks, but others like Smartwool, Darn Tough, or other wool-based socks made for hiking. Some use sock liners to add an extra layer of anti-chafing defense. Some swear by Injinji, which separates the toes and keeps them from rubbing together. Find what works for you.
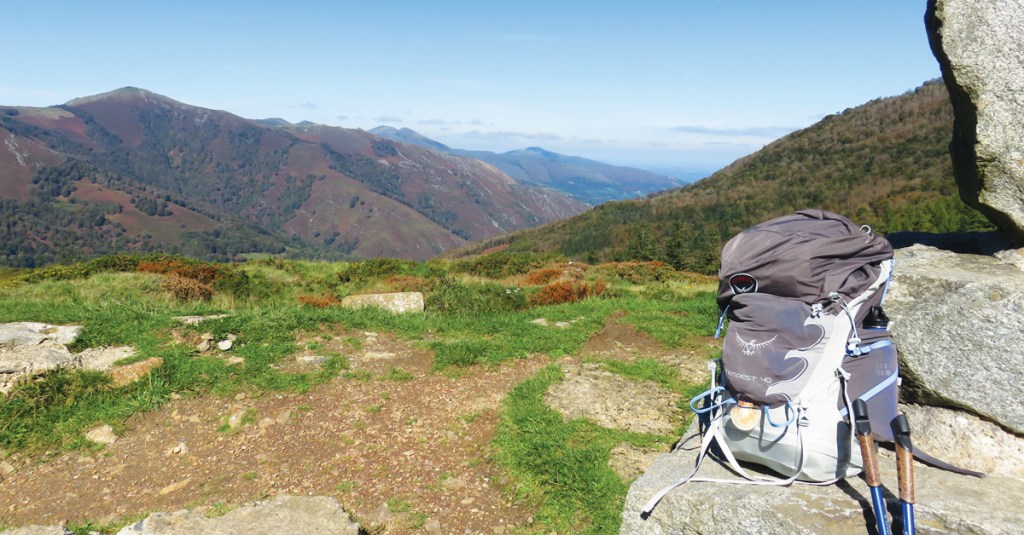
- Pack: Choose a light, moderate-sized (30-40 liter/1,830-2,440 cubic inch) pack that fits your torso, hips, and shoulders well. Try several on and learn how to adjust all the different straps to see which feels best.
Also bring a small first aid kit. You can purchase travel-size first aid kits from outdoor gear stores, and add your own items to augment them, or make your own from scratch tailored to what you feel you will need. I have used ibuprofen and arnica gel the most and always outfit my kit to include these. You should not need to carry a lot for blisters if you take measures to prevent them. Plus, pharmacies and other shops on the Camino carry the most commonly needed items, including for treating blisters.
Packing Checklist
- Light pack (40 liters/2,440 cubic inches or less) that fits your body well.
- Water bottle(s) that can carry a minimum of 1.5 liters (1 half-gallon). I prefer lightweight stainless-steel bottles to bladder-type water reserves because they are easier to clean thoroughly and don’t taste of plastic.
- Trekking shoes, such as light hiking shoes or sturdy cross-trainers.
- One (1) pair of after-trekking shoes that can double as slippers in albergues and about-town shoes for dinner. Flip-flops or sandals can be good for the shower.
- Three-four (3-4) pairs of good hiking socks, so that you have one clean, dry pair at all times, in case it rains or you step in a puddle.
- Two (2) pairs of quick-dry hiking pants, one that can be rolled up (or unzipped) to serve as shorts or capris.
- Two to three (2-3) T-shirts (1-2 short-sleeve and 1-2 long-sleeve, depending on the season). I prefer lightweight cotton or merino to synthetic moisture-wicking fabrics.
- One (1) lightweight sweater or fleece for layering and warmth.
- One (1) rain poncho that can double as a picnic blanket or seat.
- Three (3) pairs of quick-drying underwear.
- Two (2) bras for women, ideally comfortable sports-style bras.
- Sun hat (for spring to fall).
- Warm cap and gloves (late autumn, winter, and early spring).
- Sunglasses
- Sunscreen
- First aid kit
Essential Gear for Albergues:
If you’ll be sleeping in albergues (rather than hostales, pensiones, casas rurales inns, or hotels), you’ll also need:
- A lightweight sleeping bag, gauged to the season you are walking, and/or a sleeping-bag sheet as an extra layer for winter nights (and as the sole sleeping gear for warm summer nights).
- A traveler’s towel such as the quick-dry camping towels.
- A small dry sack (ultralight, such as Sea to Summit’s 2-liter sack) for your valuables (passport, wallet, phone, camera) to take with you to the shower in albergues that lack lockers. (Consider taking an S-hook to hang your dry sack from on the inside of shower doors that lack hooks.)
- A head lamp in case you need to go downstairs at night to get to the bathroom. (Turn it on after you are out of the shared dorm room so as not to wake others.)
- Earplugs that fit and are comfortable (some are so uncomfortable as to be as maddening as the sounds they are blocking out.) Similarly, consider bringing an eye cover to block errant dorm room lights and phone screens.
Optional Gear:
- A lightweight cotton scarf for warmth, sun protection, coverage when you get out of the shower, or to use as a sheet over an albergue bunk bed.
- A high-quality waterproof rain jacket that also doubles as an extra layer for wind or added warmth. You will also want to think about having a pack rain cover.
- A light but warm jacket if you are walking in winter.
- Ultralight dry sack the size of your pack (such as Sea to Summit’s 35-liter sack) to line the inside of your pack, which will ensure it stays dry in heavy rain. It also serves double-duty as a pillow when stuffed with clothes, as a laundry bag, and as an outer-pack shell (if you have to check your pack on an airline) to protect the straps from tear. It can also be an added barrier to bedbugs getting inside your pack.
- A rain cover for your pack as extra rain protection along with a poncho (the wind always manages to get rain under the poncho!) or rain jacket (the pack cover is essential especially if you use the rain jacket and not the poncho). A dry sack lining the inside of the pack also adds extra protection to keep gear dry. What has worked best for me, except during excessive torrential rain, has been the combination of rain jacket, dry sack, and pack cover. Most packs sold these days come with rain covers.
- A compass: Nothing gives a sense of direction beyond the rising and setting sun like an old-fashioned, lightweight compass. Hook it onto your pack and feel very much the explorer. It has the advantage of never needing to be recharged.
- A guidebook with maps
- A journal and pen. A great way to document your journey and what you are experiencing and feeling, and just for yourself, away from the reach, eyes, and opinions of email and social media. Plus, pen and paper never need to be plugged in and recharged.
- A camera and extra memory cards. Many use their phones now to photograph, but if you really want to capture the range of images, from stunning landscapes to minute details of Romanesque engravings, a pocket camera with a good zoom lens (like the Canon PowerShot 40X) still largely outperforms most phones.
- A phone for emergencies. Some phone plans back home may already have reasonable international plans and can be used in a pinch. You can also buy a local SIM if your phone is unlocked, or a simple phone with SIM card, in Spain.


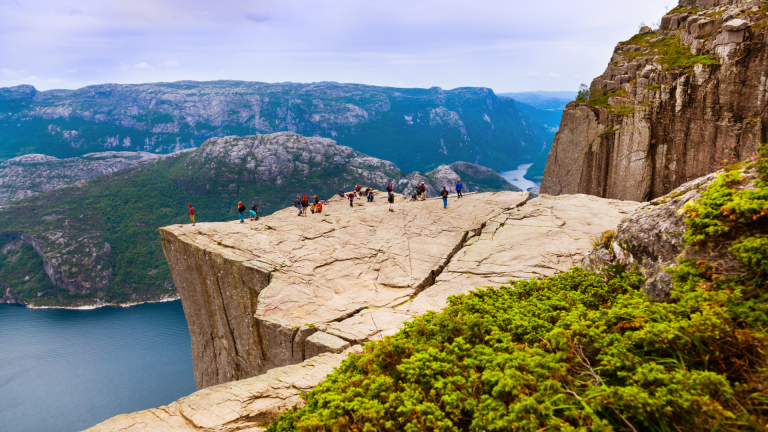
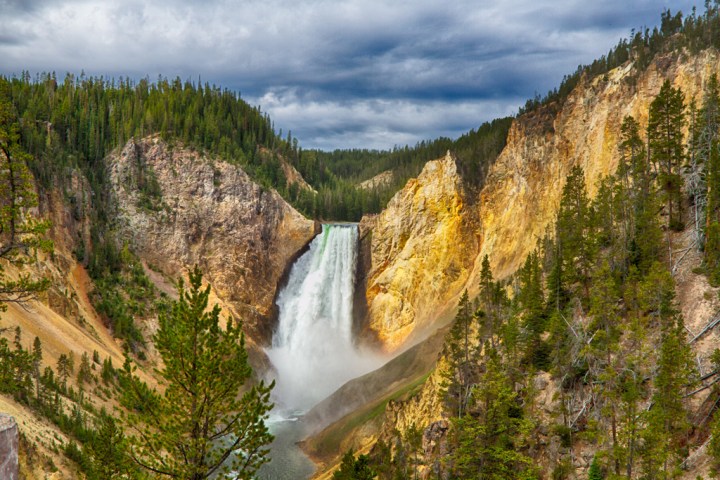
More outdoor adventures await in Europe

Get inspired and get ready for adventure with the ultimate guide to Europe’s best trips!
What to read next…
Pin It for Later